Ref. IDs Tab
Features in the "Ref. IDs" tab in Neovest's "Order Entry Preferences" box let you enter reference IDs that you may then use as identifiers to distinguish individual orders.
Once you enter one or more reference IDs in the "Ref. IDs" tab, the reference ID(s) will appear on the "Ref. ID" drop-down menu in Neovest's Order Entry window and in the Order Entry section of Neovest's Order Entry Montage window.
Note: In order for the "Ref. ID" drop-down menu to appear in a particular Neovest Order Entry window or in the Order Entry section of a particular Neovest Order Entry Montage window, the "Display Ref. ID in Ticket" box must be checked in the "Ref. IDs" tab of the "Order Entry Preferences" box associated with either the Neovest Order Entry window or the Order Entry Montage window.

Your entered reference IDs will also appear on the "Ref. ID" drop-down menu in one of four "Confirm" dialog boxes each time you send an order in a Neovest Montage or Order Entry Montage window using an Action Button.

Note: In order for a "Confirm" box to appear after you click on an Action Button, you must have first checked "Confirm Order" during the set up process of the Single, Bundled, or Multi order action that you have assigned to the Action Button. For information regarding how you may check the "Confirm Order" feature during the set up process of a Single, Bundled, or Multi order action, refer to the "Single Order Action" section in the "Action Buttons" section of either the "Montage" or "OE Montage" chapter in Neovest's Help documentation. For more information on Neovest's various "Confirm" boxes, refer to the "Confirming an Order" section in the "Action Buttons" section of either the "Montage" or "OE Montage" chapter in Neovest's Help documentation.
The following instructions explain how you may enter reference IDs that you may then use as identifiers to distinguish individual orders:
Click the "Menu" icon in Neovest's Launch Pad.
Select Preferences | Order Entry Preferences.

Once the "Order Entry Preferences" box appears, select the "Ref. IDs" tab.
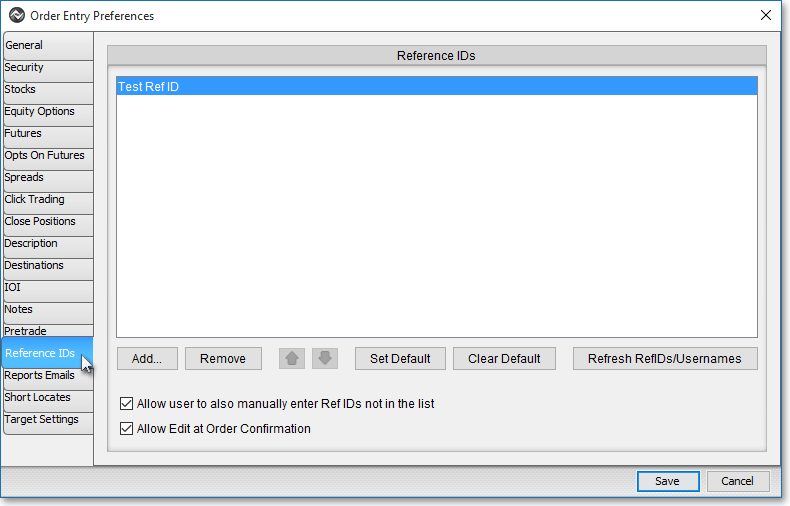
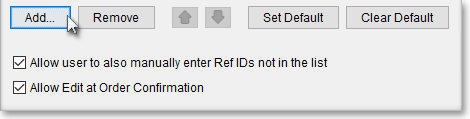
Click Add.

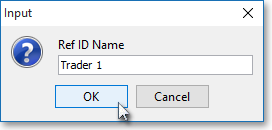
Enter the reference ID you wish in the "Ref. ID Name" field, and click OK. (Keep in mind that you may repeat this process to enter as many reference IDs as you wish.)
In addition to the reference IDs that you may enter in this tab, you may also specify certain settings that relate to the reference IDs you have entered.
The following table provides descriptions of the features in the "Ref. IDs" tab that you may use to specify certain settings that relate to the reference IDs you have entered:
| Feature: | Description: |
| Set
Default/ Clear Default |
Lets you select a reference ID as the default. Once you (1) click on a particular reference ID that you have added to the "Ref. IDs" tab, (2) click Set Default, and (3) click Save—your selected default reference ID will be assigned to each order you send. If you do not wish to specify a default reference ID, simply click Clear Default. |
| Allow Ref. ID to be Editable | Lets you edit your entered reference IDs in any "Ref. ID" drop-down menu for Neovest's Order Entry window and in any of the "Confirm" dialog boxes that appear after you click on an Action Button in a Neovest Montage or Order Entry Montage window to send an order. |
| Allow
Edit at Order Confirmation |
Lets you choose to
edit a reference ID in the "Confirm" box that appears each time
you attempt to send an order in any Neovest Order Entry window. If you check this feature, then each time the "Confirm"
box appears after you click Buy, Sell, Sell Short,
or Buy Cover to send an order, Neovest will allow you to edit the
reference ID before you confirm and send the order. Note: In order for the "Confirm" box to appear after you click Buy, Sell, Sell Short, or Buy Cover to send an order, you must first check "Require Verification" in the "Security" tab in the "Order Entry Preferences" box. |