Custom Tickets Tab
Features in the "Custom Tickets" tab in Neovest's "Order Entry Preferences" box let you create custom stock, options, and futures tickets. As part of the customization process, you may decide which data fields and execution buttons to display, change data field names, and set both various hot keys and defaults.
You may personalize each ticket to display a specific layout and tabbing order. You may also determine how your defined tickets will behave with regards to the resetting of values and refocusing of highlights to the first field in your tabbing order once orders are sent.
The following instructions explain how you may create custom stock, options, and futures tickets in the "Custom Tickets" tab in Neovest's Order Entry Preferences box:
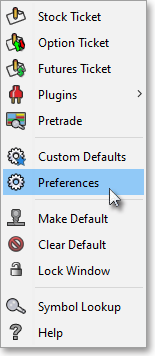
With an Order Entry window open on your screen, click the gear icon, located on the far-right of the toolbar.

Click the "Preferences" icon on the drop-down menu that appears.
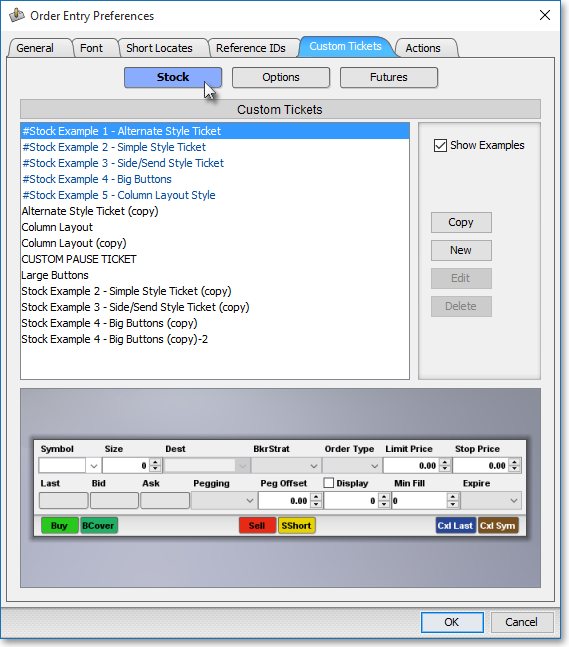
Once the "Order Entry Preferences" box appears, select the "Custom Tickets" tab.
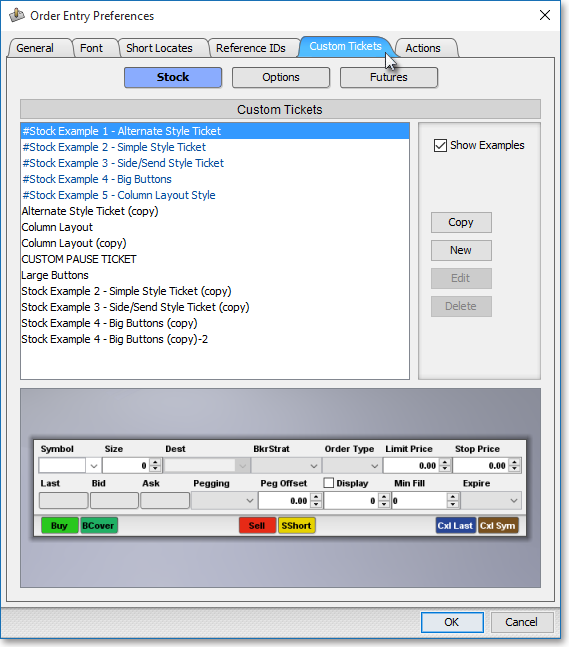
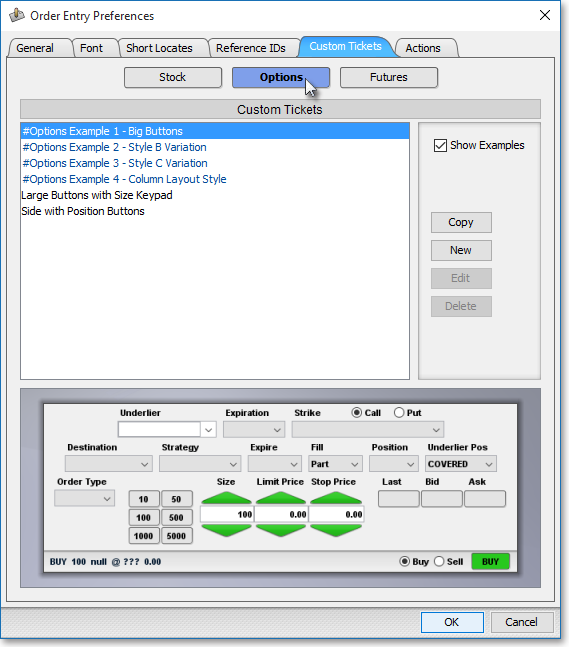
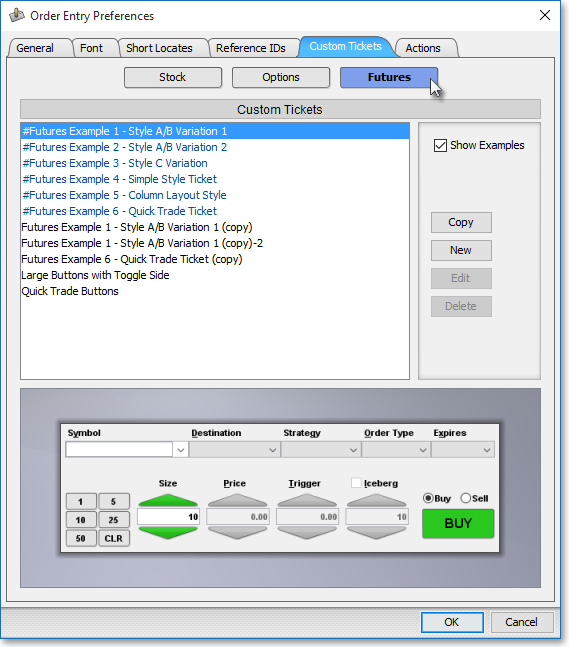
Select Stock, Options, or Futures, depending on the type of custom order ticket you wish to create.
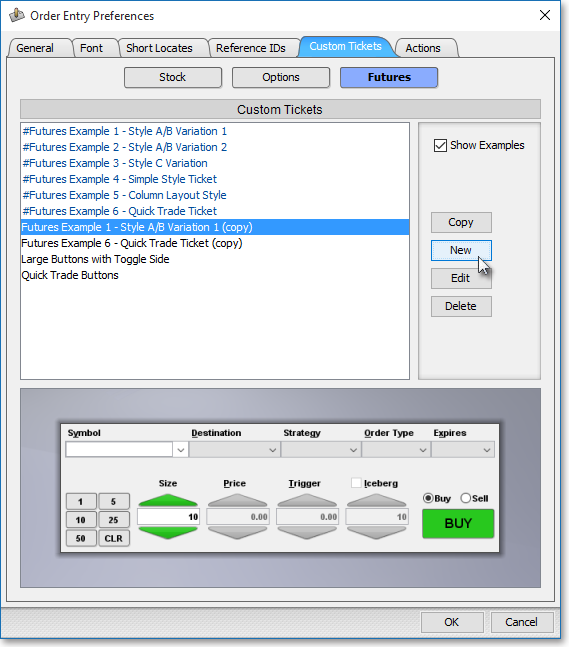
Click Copy, New, or Edit. (In the following example, New is selected.)

Note: As you click on any of the existing "Stock," "Options" (see "Exhibit B"), or "Futures" (see "Exhibit C") examples, the examples themselves will appear in the bottom field of the "Custom Tickets" tab. If you'd like to create a new custom order ticket by copying one of the existing examples or one of the custom order tickets that you've previously created and saved, first click on the custom order ticket you would like to copy, and click Copy (see "Exhibit D") . If you'd like to create an entirely new custom order ticket, click New. Or click Edit if you'd like to edit a custom order ticket that you've previously created and saved.

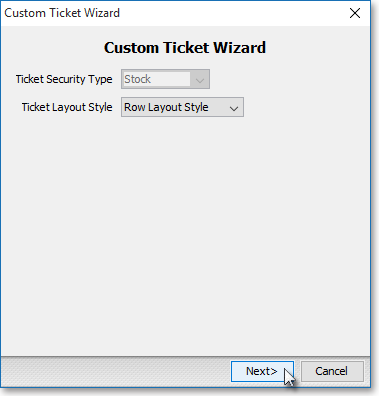
Once the "Custom Ticket Wizard" appears, select either Row Layout Style or Column Layout Style. (Examples of each type of style are provided below.)
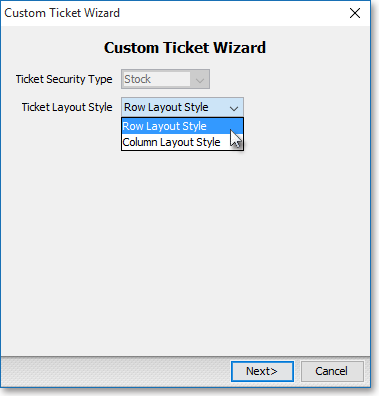
Click Next.
Enter a name for your custom order ticket in the "Ticket Name" field.
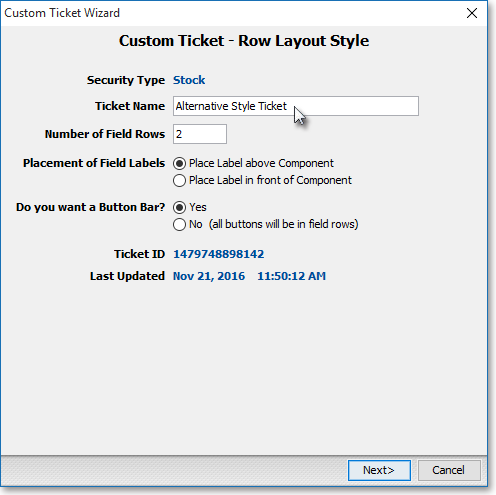
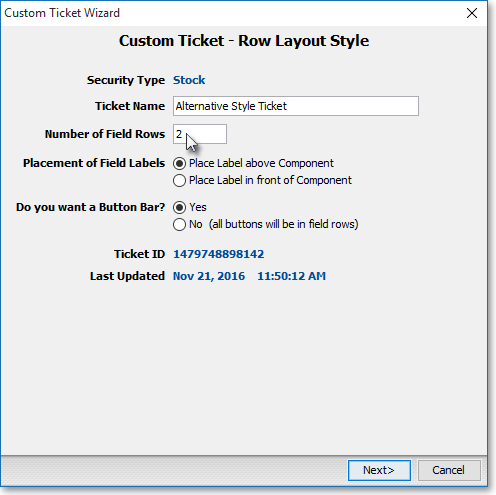
Enter the number of field rows or field columns you prefer (depending on the style you chose) for your custom order ticket in the "Number of Field Rows" or "Number of Field Columns" field.
If you selected Column Layout Style as your custom order ticket style, select either Place Label above Component or Place Label in front of Component as your preferred Placement of Field Labels.
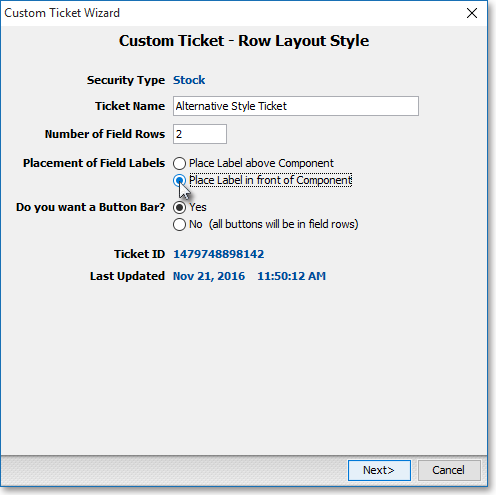
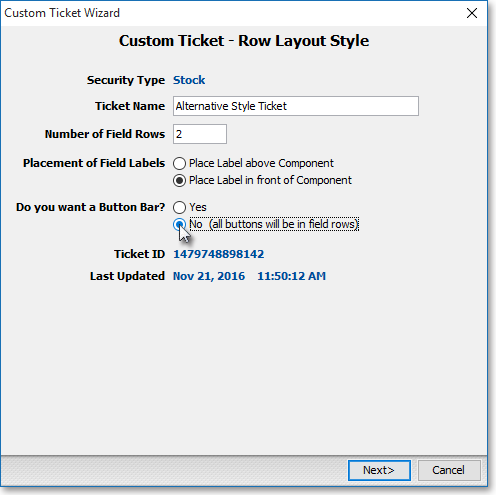
Lastly, click either Yes or No as your Do You Want a Button Bar preference to designate whether you wish your selected execution-type buttons such as Buy, BCover, Sell, and SShort will appear in their own button bar across the bottom of your custom order ticket (Yes) or if the buttons will appear as field columns identical to your other selected fields. (Examples of each type of style are provided below.)
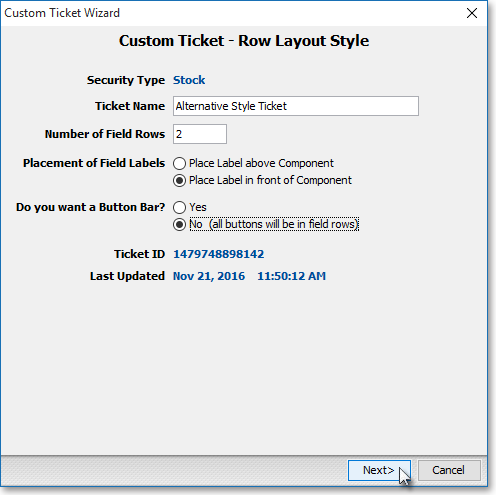
Click Next.
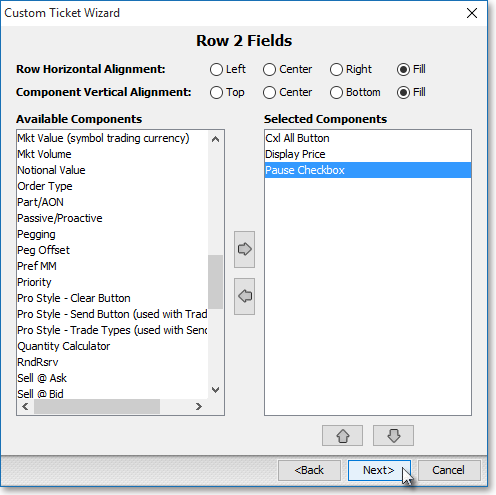
If you selected Row Layout Style as your custom order ticket style, determine your Row Horizontal Alignment to skew toward the Left, Center, or Right or to Fill equally the space provided. Also, determine your Component Vertical Alignment to skew toward the Top, Center, or Bottom or to Fill equally the space provided.
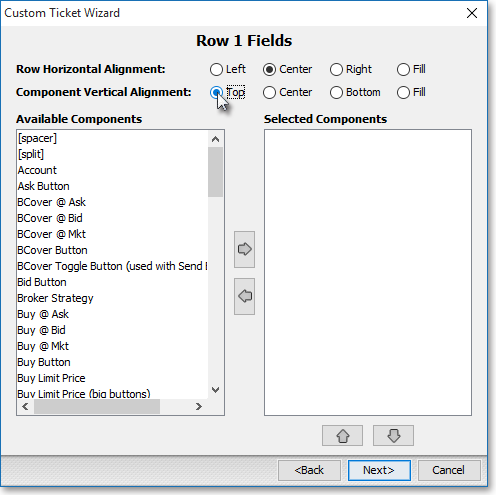
Double-click on the fields you wish in the "Available Components" section to add them to the first field row or field column (depending on the style you chose) in your custom order ticket.
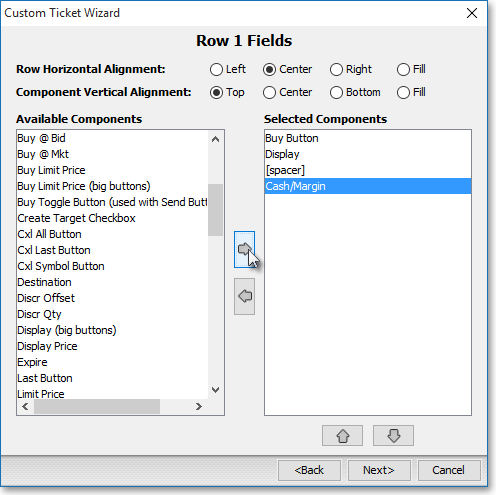
Note: Once you select the fields you wish for your initial field row or field column and click Next, Neovest will allow you to add the fields you choose to each subsequent field row or field column until you have completed your field selections for each of the number of field rows or field columns you designated previously.
Click Next.

If you selected Yes as your Do You Want a Button Bar preference, determine your button bar Row Horizontal Alignment to skew toward the Left, Center, or Right or to Fill equally the space provided. Also, determine your button bar Component Vertical Alignment to skew toward the Top, Center, or Bottom or to Fill equally the space provided.
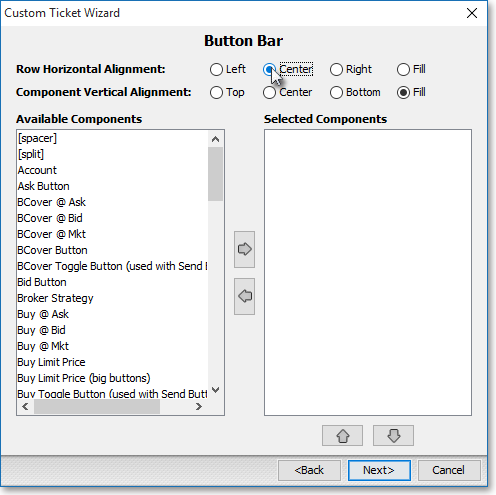
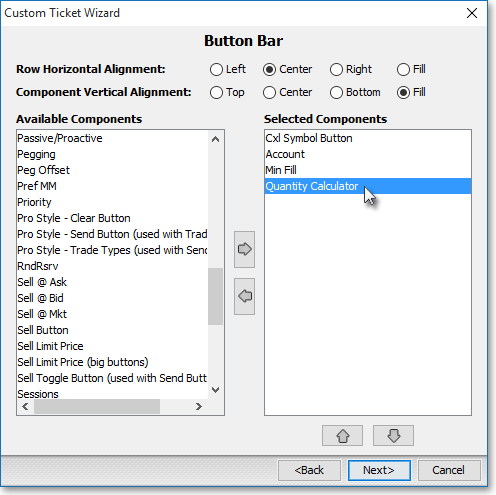
Lastly, if you selected Yes as your Do You Want a Button Bar preference, double-click on the execution-type fields you wish in the "Available Components" section to add them to the button bar in your custom order ticket.
Click Next.
Once the "Advanced Settings" section appears, in the "Tabbing" tab, select either Use Default Order or Use Custom Order.
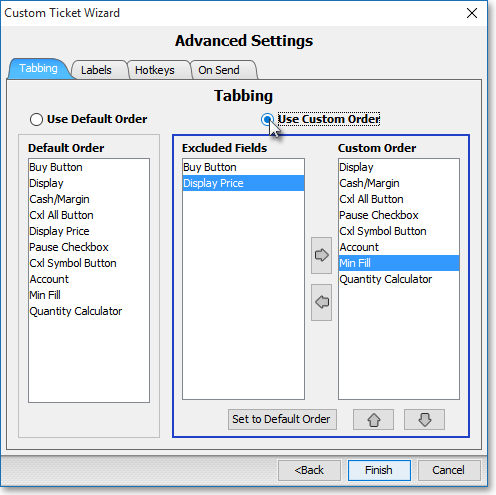
Note: If you select Use Custom Order, you may then double-click on fields in the "Custom Order" section to add them to the "Excluded Fields" section, which will then cause Neovest to skip over the "excluded" fields in your custom order ticket during your tabbing sequence process of creating an order.

Next, select the "Labels" tab in the "Advanced Settings" section.
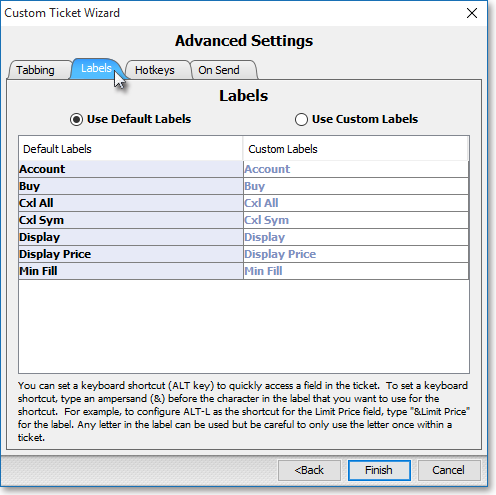
Within the "Labels" tab, select either Use Default Labels or Use Custom Labels.
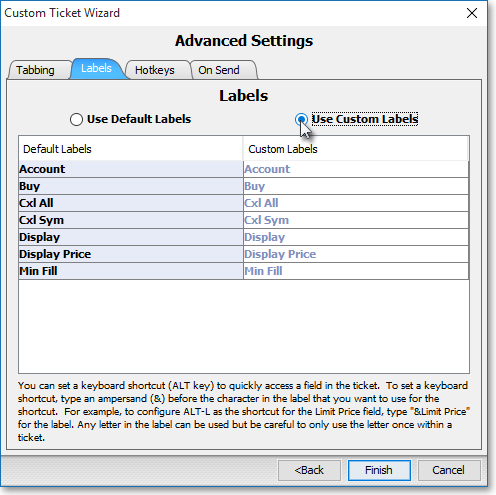
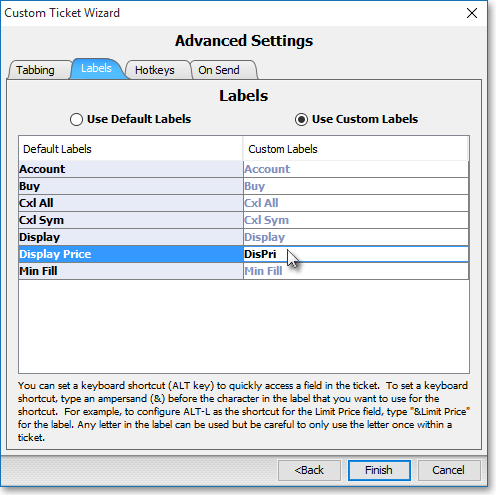
Note: If you select Use Default Labels, the names of the fields you have selected will remain under their default labels. If Use Custom Labels is chosen, then you may click on the name of any of your selected fields under the "Custom Labels" column. Once the field name changing box appears, enter the custom field label you wish, and press Enter.
Next, select the "Hot Keys" tab in the "Advanced Settings" section.
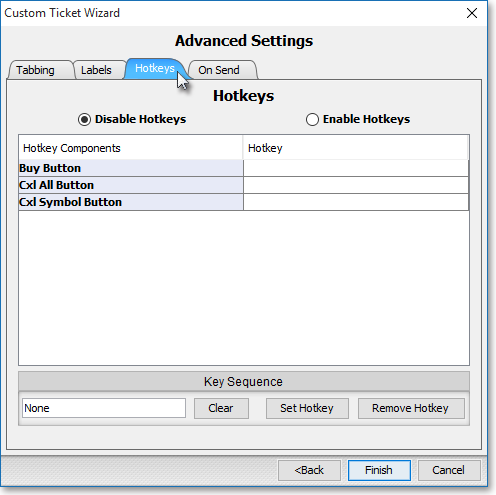
Within the "Hot Keys" tab, select either Disable Hot Keys or Enable Hot Keys.
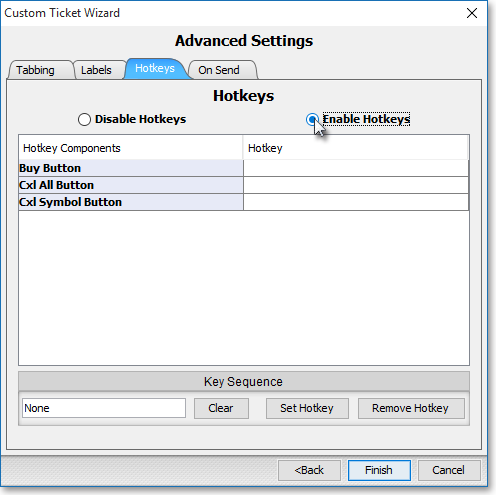
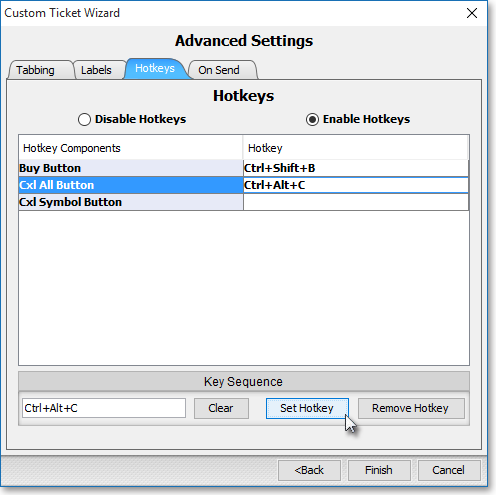
Note: If you select Disable Hot Keys, the ability to use hot keys with your selected fields will be disabled. If Enable Hot Keys is chosen, then you may establish hot keys for any of your chosen fields. To create a hot key for a certain field, simply click on the field's name under the "Hot Key Components" column, then click within the white field in the "Key Sequence" section. Once your cursor appears in the white field, press any letter key or the Alt, Ctrl, Shift keys. As you press keys, certain hot key combinations such as "Alt+Shift+S" will appear in the white field. After you experiment with various hot key combinations, select the hot key combination you wish, and click Set Hot Key to set the hot key for your chosen field.
Next, select the "On Send" tab in the "Advanced Settings" section.
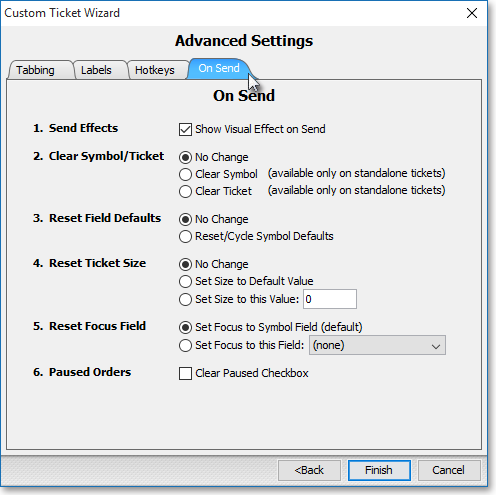
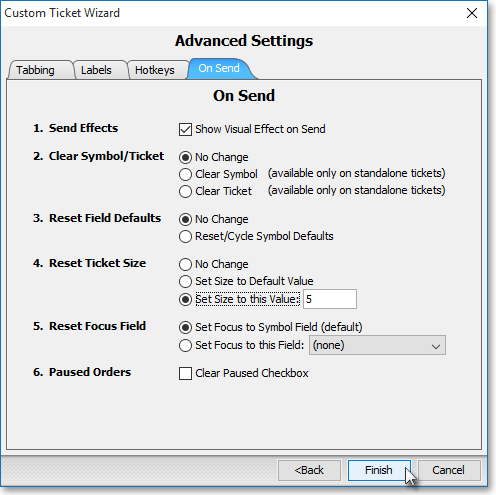
Within the "On Send" tab, select the type of features that will occur once you send an order.
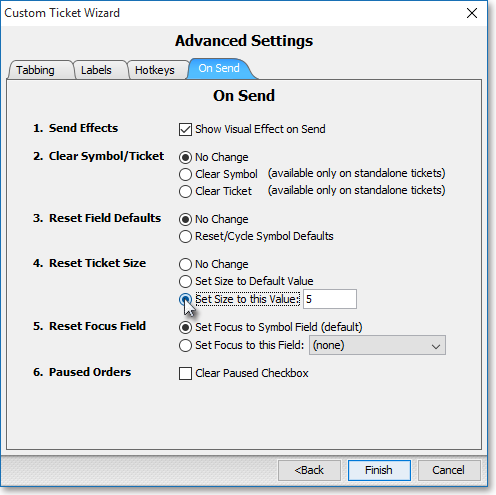
The following table provides descriptions of the features in the "On Send" tab in the Custom Ticket Wizard box:
| Feature: | Description: |
| Send Effects | If you check Show Visual Effect on Send, then Neovest will display a wave of color across the top of your custom order ticket, which will match the color of the send-type button upon which you clicked, as a visual confirmation that the order is being sent. |
| Clear Symbol/ Ticket |
Lets you choose to 1) have No Change to your custom order ticket, 2) clear just the symbol (Clear Symbol) from your custom order ticket, or 3) clear your entire custom order ticket (Clear Ticket) of your current order information at the instant you send an order. |
| Reset Field Defaults | Lets you choose to 1) have No Change to your custom order ticket or 2) have your current custom order ticket information reset to default values at the instant you send an order. |
| Reset Ticket Size | Lets you choose to 1) have No Change to your custom order ticket, 2) have your current custom order ticket's size value reset to its default value (Set Size to Default Value), or 3) have your current custom order ticket's size value change to your specified value (Set Size to This Value) at the instant you send an order. |
| Reset Focus Field | Lets you choose to 1) have your custom order ticket reset to the "Symbol" field (Set Focus to Symbol Field) so that you might begin your tabbing sequence to create a new order or 2) have your current custom order ticket reset to a field of your choosing (Set Focus to This Field) at the instant you send an order. |
Click Finish.
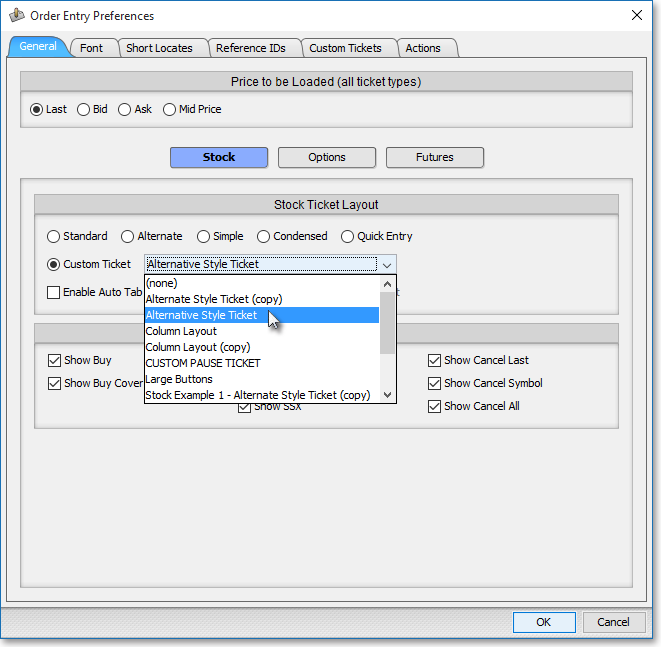
Once you click Finish, note how your new custom order ticket now appears in the list of custom tickets in the "Custom Tickets" tab in Neovest's Order Entry Preferences box. In order to utilize your new custom order ticket, you must select it. To do this, simply click on the "General" tab in Neovest's Order Entry Preferences box, select Custom Ticket in either the "Stock Ticket Layout" or "Options Ticket Layout" field, and select the custom order ticket you wish from either of the associated drop-down menus. Then click OK to exit the Order Entry Preferences box.