Custom Tab
Neovest's Custom display fields can streamline your workflow by helping you make quicker trading decisions and thus execute your orders more efficiently. Features in the "Custom" tab let you create unique display fields that you may then add to the QuickQuote section in a Neovest Montage window.
By letting you create and add custom display fields to the QuickQuote section, Neovest lets interpret data resourcefully, customize your workspace to your unique trading preferences, and format and display data in ways that make sense to you.
The following list provides creative ways you can utilize Neovest's Custom display fields:
Combine Custom display fields with analytics to identify hard-to-trade orders.
View how long an order has been working.
Create time-related fields.
Store data for later use.
Create a divergence from an Index field.
Custom display fields are created in the "Custom" tab by combining two or more existing display fields with complimentary characteristics.
The following instructions explain how you may create a "Custom" display field for the QuickQuote section in a Neovest Montage window:
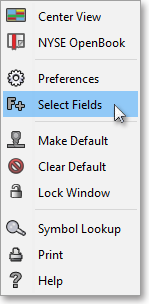
With a Montage window open on your screen, click the gear icon, located on the far-right of the toolbar.

Click the "Fields" icon on the drop-down menu that appears.
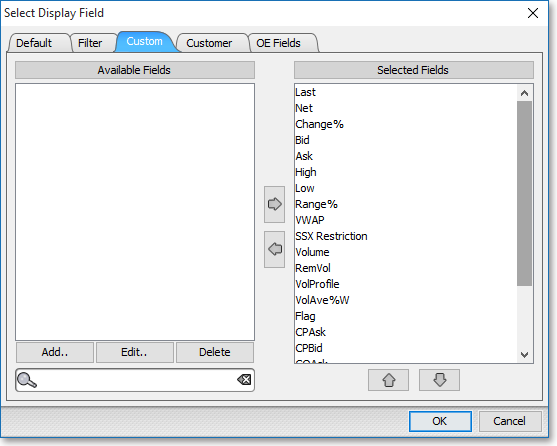
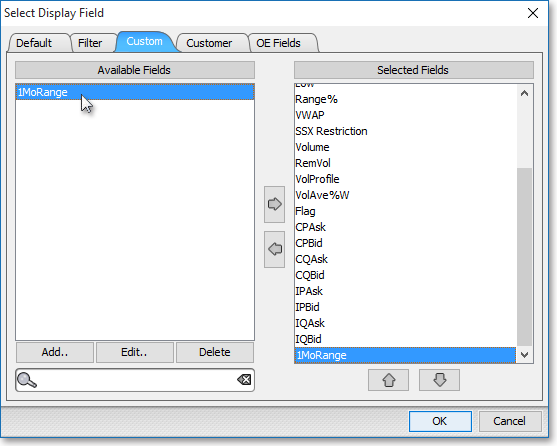
Once the "Select Display Field" box appears, select the "Custom" tab.
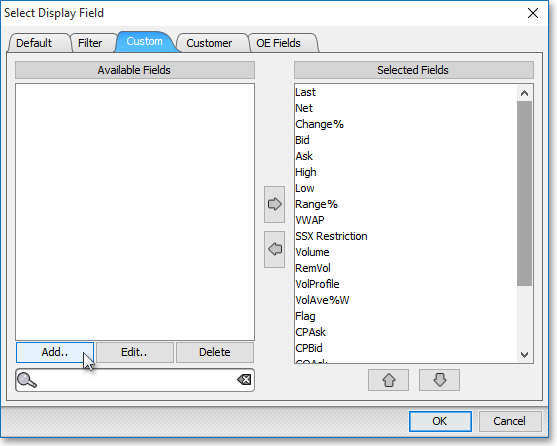
Select Add.
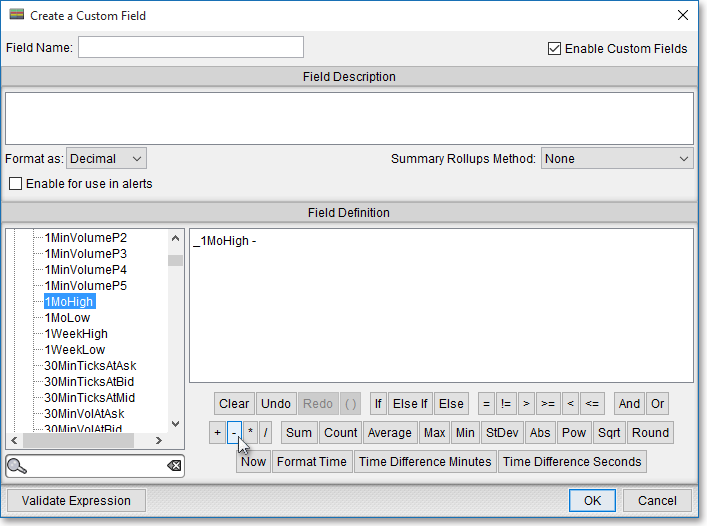
Once the "Create a Custom Field" box appears, select the display field that you wish to use as the first component of the custom display field. (In the following example, "1MoHigh" is selected as the first display field.)
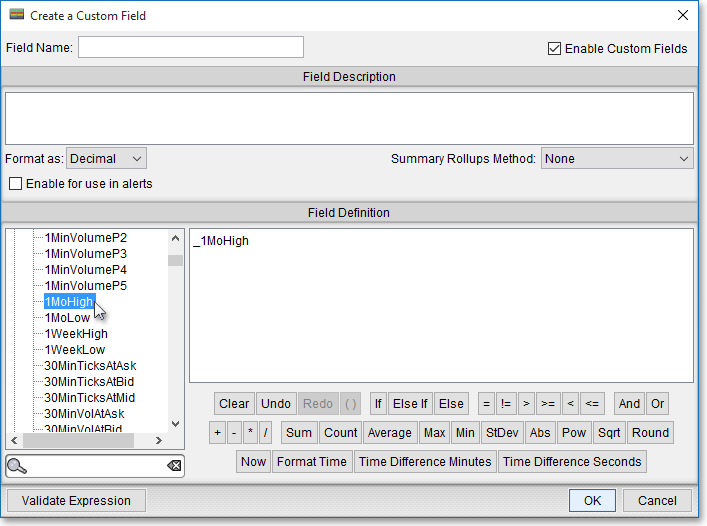
Next, select the math operator. (In the following example, the minus sign ("-") is selected as the math operator.)
Note: Neovest provides you with several math operators to increase flexibility within the Custom display fields. In addition to the standard addition (+), subtraction (-),multiplication (*), and division (/) math operators—Neovest provides you with the more advanced selections of "Max," "Min," "StDev," "Abs," "Avg," "Pow," "Sqrt," and "Round." If you select "Max" as the math operator, then you are indicating that you wish to view the greater value of the two selected display fields. If you select "Min," then you wish to view the smaller value of the two selected display fields. If "StDev," then you wish to view the sample standard deviation of two selected display fields. If "Abs," then you wish to view the absolute value, or the difference, of two display fields, which will always be expressed as a positive value. If "Avg," then you wish to view the average value of the two selected display fields. If "Pow," then you wish to view the value of the first display field raised to the power of the value of the second display field. If "Sqrt," then you wish to view the square root of the selected display field. If "Round," then you wish to round the selected display field, with "*Precision*," which lets you indicate the number of decimal places to which the value will be rounded.
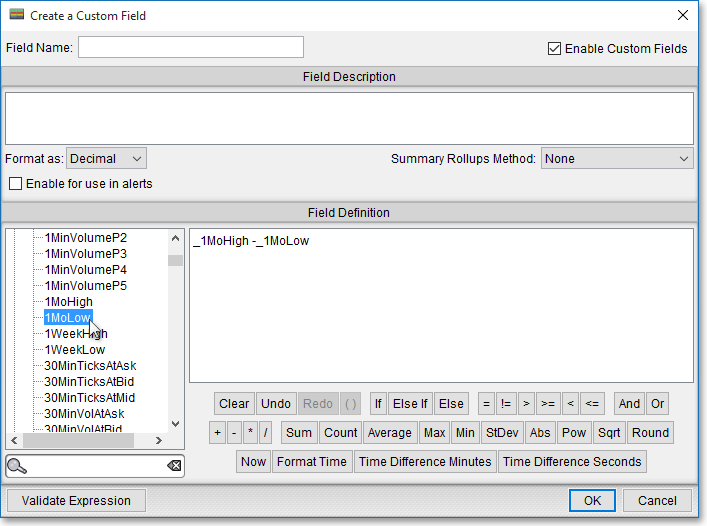
Next, select the display field that you wish to use as the second component of the custom display field. (In the following example, "1MoLow" is selected as the second display field.)
Lastly, enter a name for the new custom display field. (In the following example, "1MoRange" is entered as the name.)
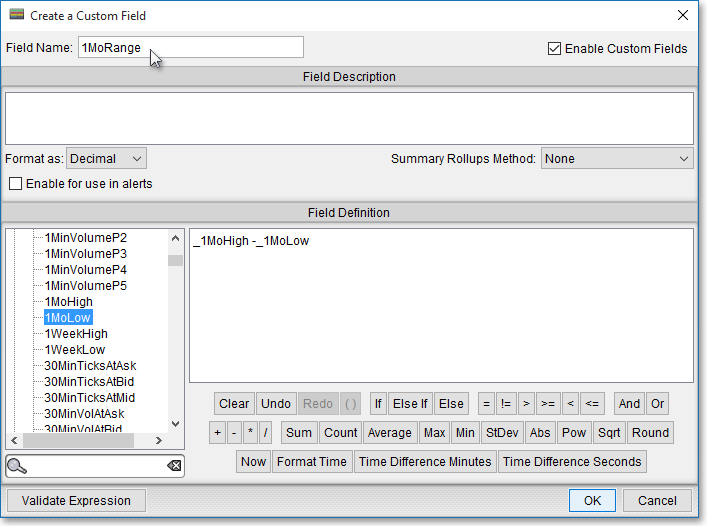
Once you have finished creating the new custom display field, click OK.

Note: Once you have created a custom display field such as 1MoRange, you may add the custom display field to the QuickQuote section in a Neovest Montage window. You may also use custom display fields as components in creating additional custom display fields.
The following instructions explain how you may add the newly created "Custom" display field to the QuickQuote section in a Neovest Montage window:
Double-click on the newly created "Custom" display field in the "Available Fields" section to add the display field to the "Selected Fields" section.
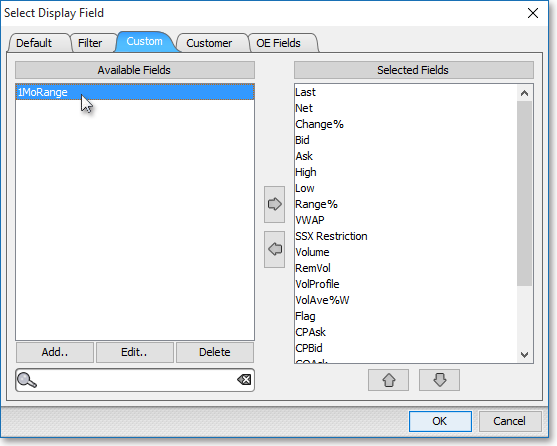
Note: The "Selected Fields" section lists the display fields that have been selected for the QuickQuote section in a Neovest Montage window. At this point you may continue to add display fields to the "Selected Fields" section by following the preceding instructions.
Once you have finished adding the display fields you wish, click OK.
The following instructions explain how you may remove a "Custom" display field from the QuickQuote section in a Neovest Montage window:
With a Montage window open on your screen, click the gear icon, located on the far-right of the toolbar.
Click the " Fields" icon on the drop-down menu that appears.
Once the "Select Display Field" box appears, double-click on the display field in the "Selected Fields" section that you wish to remove.
Note: The "Selected Fields" section lists the display fields that have been selected for the QuickQuote section in a Neovest Montage window. At this point you may continue to remove display fields from the "Selected Fields" section by following the preceding instructions.
Once you have finished removing the display fields you wish, click OK.